

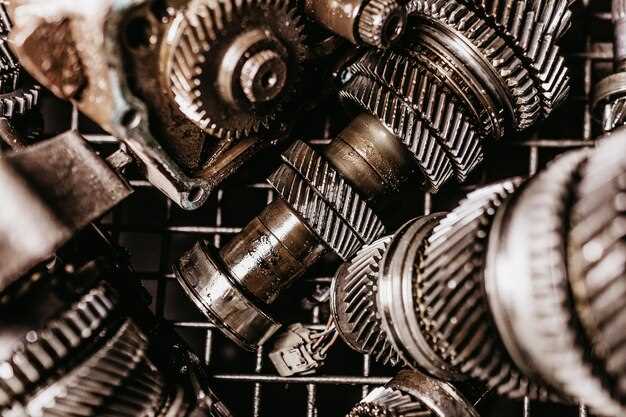
Maintaining your vehicle’s braking system is crucial for both performance and safety. Among the essential components are the rotors, which play a central role in the braking process. Over time, these components can wear down due to friction, heat, and environmental factors, leading to potential safety hazards and decreased braking efficiency.
Understanding how to identify worn rotors is key to ensuring your vehicle remains in optimal condition. Drivers should be aware of several warning signs, including vibrations during braking, unusual noises such as squeaking or grinding, and visible warping or discoloration of the rotors. Regular inspections and knowledge of these indicators can save drivers from costly repairs and unsafe driving conditions.
Knowing when to replace your rotors is vital for maintaining your braking system. While the lifespan of rotors can vary based on driving habits and vehicle type, a general guideline is to check them every 20,000 to 30,000 miles. Factors such as heavy braking, aggressive driving, or driving in hilly terrain can necessitate more frequent inspections. This guide provides insights into recognizing wear and determining the appropriate timing for rotor replacement, ensuring your vehicle’s brake system functions effectively and safely.
Signs of Worn Brake Rotors
Identifying worn brake rotors is crucial for ensuring vehicle safety and optimal braking performance. One of the primary signs of rotor wear is a pulsating sensation in the brake pedal when it is engaged. This feeling often indicates that the rotors have become uneven due to excessive wear or warping.
Another noticeable indicator is squeaking or grinding noises during braking. If the brake pads have worn down and the metal backing comes into contact with the rotor, it can produce a harsh sound, signaling that replacement is necessary to avoid further damage.
Visual inspection can also reveal signs of wear. Look for deep grooves or scoring on the rotor surface, which suggests that the rotors have been compromised. Any discoloration, particularly a blue tint, may indicate overheating, typically due to excessive friction. In such cases, replacing the rotors is essential to maintain safe braking capabilities.
When driving, attention should be paid to vibrations felt through the steering wheel while braking. This can be a symptom of rotor imbalance or deterioration. Additionally, pulling to one side while applying brakes points to uneven wear, which may necessitate rotor replacement.
Frequent brake pad replacements may also suggest that the rotors are worn and failing to provide adequate surface for the pads to grip. If you notice that pads wear out prematurely, it could be time to inspect the rotors as well.
By being aware of these signs, drivers can take proactive steps to assess the condition of their brake rotors and ensure timely replacement, ultimately enhancing safety on the road.
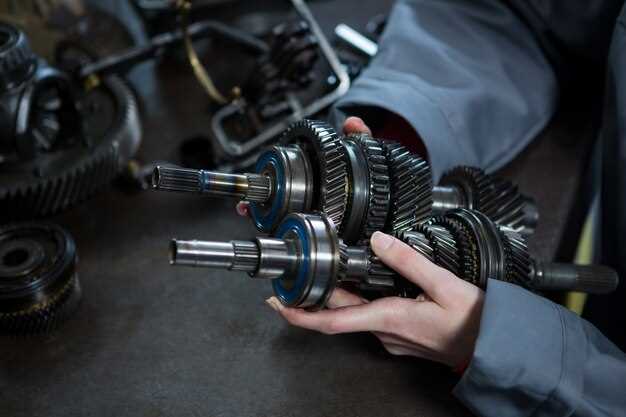
Tools Required for Rotor Inspection
Inspecting brake rotors is essential for maintaining vehicle safety and performance. To conduct a thorough inspection, specific tools are required to ensure accuracy and effectiveness.
First and foremost, a reliable set of basic hand tools, including wrenches and sockets, is necessary for removing the wheel and accessing the brake assembly. These tools should match the specifications of your vehicle’s lug nuts and caliper bolts.
A torque wrench is also crucial for reassembling components to the manufacturer’s specifications after inspection. Proper torque prevents damage and ensures that brake components are securely fastened.
A rotor measuring tool, such as a caliper or micrometer, is vital for checking rotor thickness and identifying wear. This tool helps determine if the rotors are still within acceptable limits or need replacement.
A brake pad gauge can assist in evaluating the condition of the brake pads alongside the rotors. This ensures a comprehensive assessment of the braking system as a whole.
For cleaning purposes, a brake cleaner spray and a wire brush are recommended to remove debris and contaminants from the rotor surface. A clean surface allows for a more accurate inspection and assessment of rotor condition.
Finally, safety equipment, including gloves and safety glasses, should always be used during inspection to protect against debris and sharp edges associated with brake components.
By utilizing these essential tools, you can effectively inspect brake rotors and ensure that your vehicle remains safe and reliable on the road.
Measuring Rotor Thickness: Steps and Standards
Measuring the thickness of brake rotors is crucial for maintaining optimal vehicle performance and safety. The following steps outline the process for accurately measuring rotor thickness, along with recommended standards for determining when replacement is necessary.
Steps to Measure Rotor Thickness:
- Prepare the Vehicle: Safely lift the vehicle using a jack and secure it with jack stands. Remove the wheel to access the brake assembly.
- Clean the Rotor: Wipe the rotor surface to remove any dust, debris, or rust that may affect measurements.
- Use a Caliper: Employ a digital or dial caliper for accurate measurements. Position the caliper perpendicular to the rotor surface at multiple points, ensuring you cover both the inner and outer sections.
- Record Measurements: Note the thickness readings from different points around the rotor to identify any variations or wear patterns.
Understanding Replacement Standards:
Most brake rotors come with a minimum thickness specification, often stamped on the rotor or found in the vehicle’s service manual. Replacement should be considered if:
| Rotor Thickness Measurement | Action Required |
|---|---|
| Above Minimum Thickness | No immediate replacement needed; inspect for other issues. |
| At Minimum Thickness | Replacement recommended to prevent brake performance degradation. |
| Below Minimum Thickness | Immediate replacement required to ensure safe braking. |
Regularly measuring rotor thickness is vital for effective braking performance. Keeping an eye on the thickness can prevent accidents and enhance the longevity of your brake components.
Common Causes of Rotor Wear and Damage
Brake rotors experience wear and damage due to a variety of factors. One of the most common causes is excessive heat generated during braking. When brakes are applied, friction between the brake pads and rotors creates heat. Over time, this can lead to warping or cracking of the rotors, especially under heavy braking conditions.
Another significant contributor to rotor wear is the quality of the brake pads used. Low-quality or non-compatible brake pads may not distribute pressure evenly on the rotors, resulting in uneven wear. Furthermore, if the pads are worn down to the metal, they can cause scoring on the rotor surface, leading to further damage.
Moisture and contaminants can also affect rotors. Rust and corrosion can develop when the rotors are exposed to humidity, particularly if the vehicle is not driven regularly. This can cause pitting or surface damage, which can compromise braking performance.
Improper installation or maintenance practices can exacerbate rotor issues. If rotors are not properly aligned or if the brake system is misadjusted, it can lead to uneven wear. Regular inspections and adhering to manufacturer guidelines can help mitigate these risks.
Lastly, driving habits play a crucial role in rotor longevity. Frequent aggressive braking, driving in stop-and-go traffic, or towing heavy loads can contribute to premature wear. Adopting smoother driving techniques can help extend the life of both brake pads and rotors.
When to Replace Your Brake Rotors
Brake rotors are critical components in your vehicle’s braking system. They play a vital role in ensuring safe and effective stopping power. Knowing when it’s time to replace your brake rotors can enhance vehicle performance and improve safety.
Here are key indicators that suggest it’s time to replace your brake rotors:
- Worn Surface: Inspect the surface of your rotors. If you notice deep grooves, scoring, or uneven wear, replacement is necessary.
- Thickness Variations: Measure the thickness of the rotors. If the rotors are below the manufacturer’s minimum thickness specifications, they should be replaced.
- Vibrations or Pulsating: If you experience vibrations or a pulsating feeling when applying the brakes, this could indicate warped rotors, necessitating replacement.
- Increased Stopping Distance: Difficulty in achieving effective braking or an increase in stopping distance can signal that rotors are failing.
- Noise: Squeaking or grinding noises during braking can suggest worn rotors, which require immediate attention.
Additionally, it’s important to consider replacement timing.
- During Brake Pad Replacement: It’s advisable to inspect and potentially replace rotors when you change brake pads. This ensures optimal performance and longevity.
- Mileage Recommendations: Generally, rotors should be replaced every 30,000 to 70,000 miles, depending on driving habits and vehicle type. Consult your owner’s manual for specific intervals.
Regular inspections and maintenance are crucial in identifying the need for rotor replacement. By being proactive, you can ensure your braking system remains effective and safe.
Step-by-Step Guide to Replacing Brake Rotors
Replacing brake rotors is a critical maintenance task that ensures optimal vehicle performance and safety. Follow this step-by-step guide for a successful replacement.
Step 1: Gather Necessary Tools and Materials
Before beginning the replacement process, collect all necessary tools such as a lug wrench, jack, jack stands, a rotor puller, and a torque wrench. Make sure to have the new rotors ready for installation.
Step 2: Prepare the Vehicle
Start by parking your vehicle on a flat surface and turning off the ignition. Engage the parking brake. Loosen the lug nuts on the wheel where you will be replacing the rotors, but do not remove them completely.
Step 3: Lift the Vehicle
Use the jack to lift the vehicle off the ground. Secure the vehicle with jack stands to prevent any movement while you work. Complete the removal of the lug nuts and take off the wheel.
Step 4: Remove the Caliper
With the wheel removed, locate the brake caliper. Remove the bolts that secure the caliper in place. Carefully slide the caliper off the brake pads and support it with a bungee cord or similar device to avoid straining the brake line.
Step 5: Take Off the Old Rotors
Assess the rotors for any retaining screws; if present, remove them. Slide the rotors off the hub. If they are stuck due to rust, gently tap with a rubber mallet.
Step 6: Install New Rotors
Position the new rotors onto the hub. Make sure they are aligned properly. If your rotors have holes for retaining screws, secure them in place before proceeding.
Step 7: Reattach the Caliper
Position the brake caliper back over the new rotors and align it with the brake pads. Secure the caliper with the bolts that were previously removed. Ensure they are tightened to the manufacturer’s specifications.
Step 8: Reinstall the Wheel
Place the wheel back onto the hub. Hand-tighten the lug nuts to keep the wheel in place, then lower the vehicle from the jack stands using the jack.
Step 9: Torque the Lug Nuts
Once the vehicle is securely on the ground, use a torque wrench to tighten the lug nuts to the recommended torque specifications. This ensures the wheel is safely secured.
Step 10: Test the Brakes
Before driving, pump the brake pedal several times. This helps seat the brake pads against the new rotors. Check for any unusual noises or vibrations during a short test drive. If everything feels normal, your brake rotor replacement is complete.
Regularly inspecting and replacing worn rotors can significantly enhance your vehicle’s braking performance. Keeping up with this maintenance will lead to a safer driving experience.